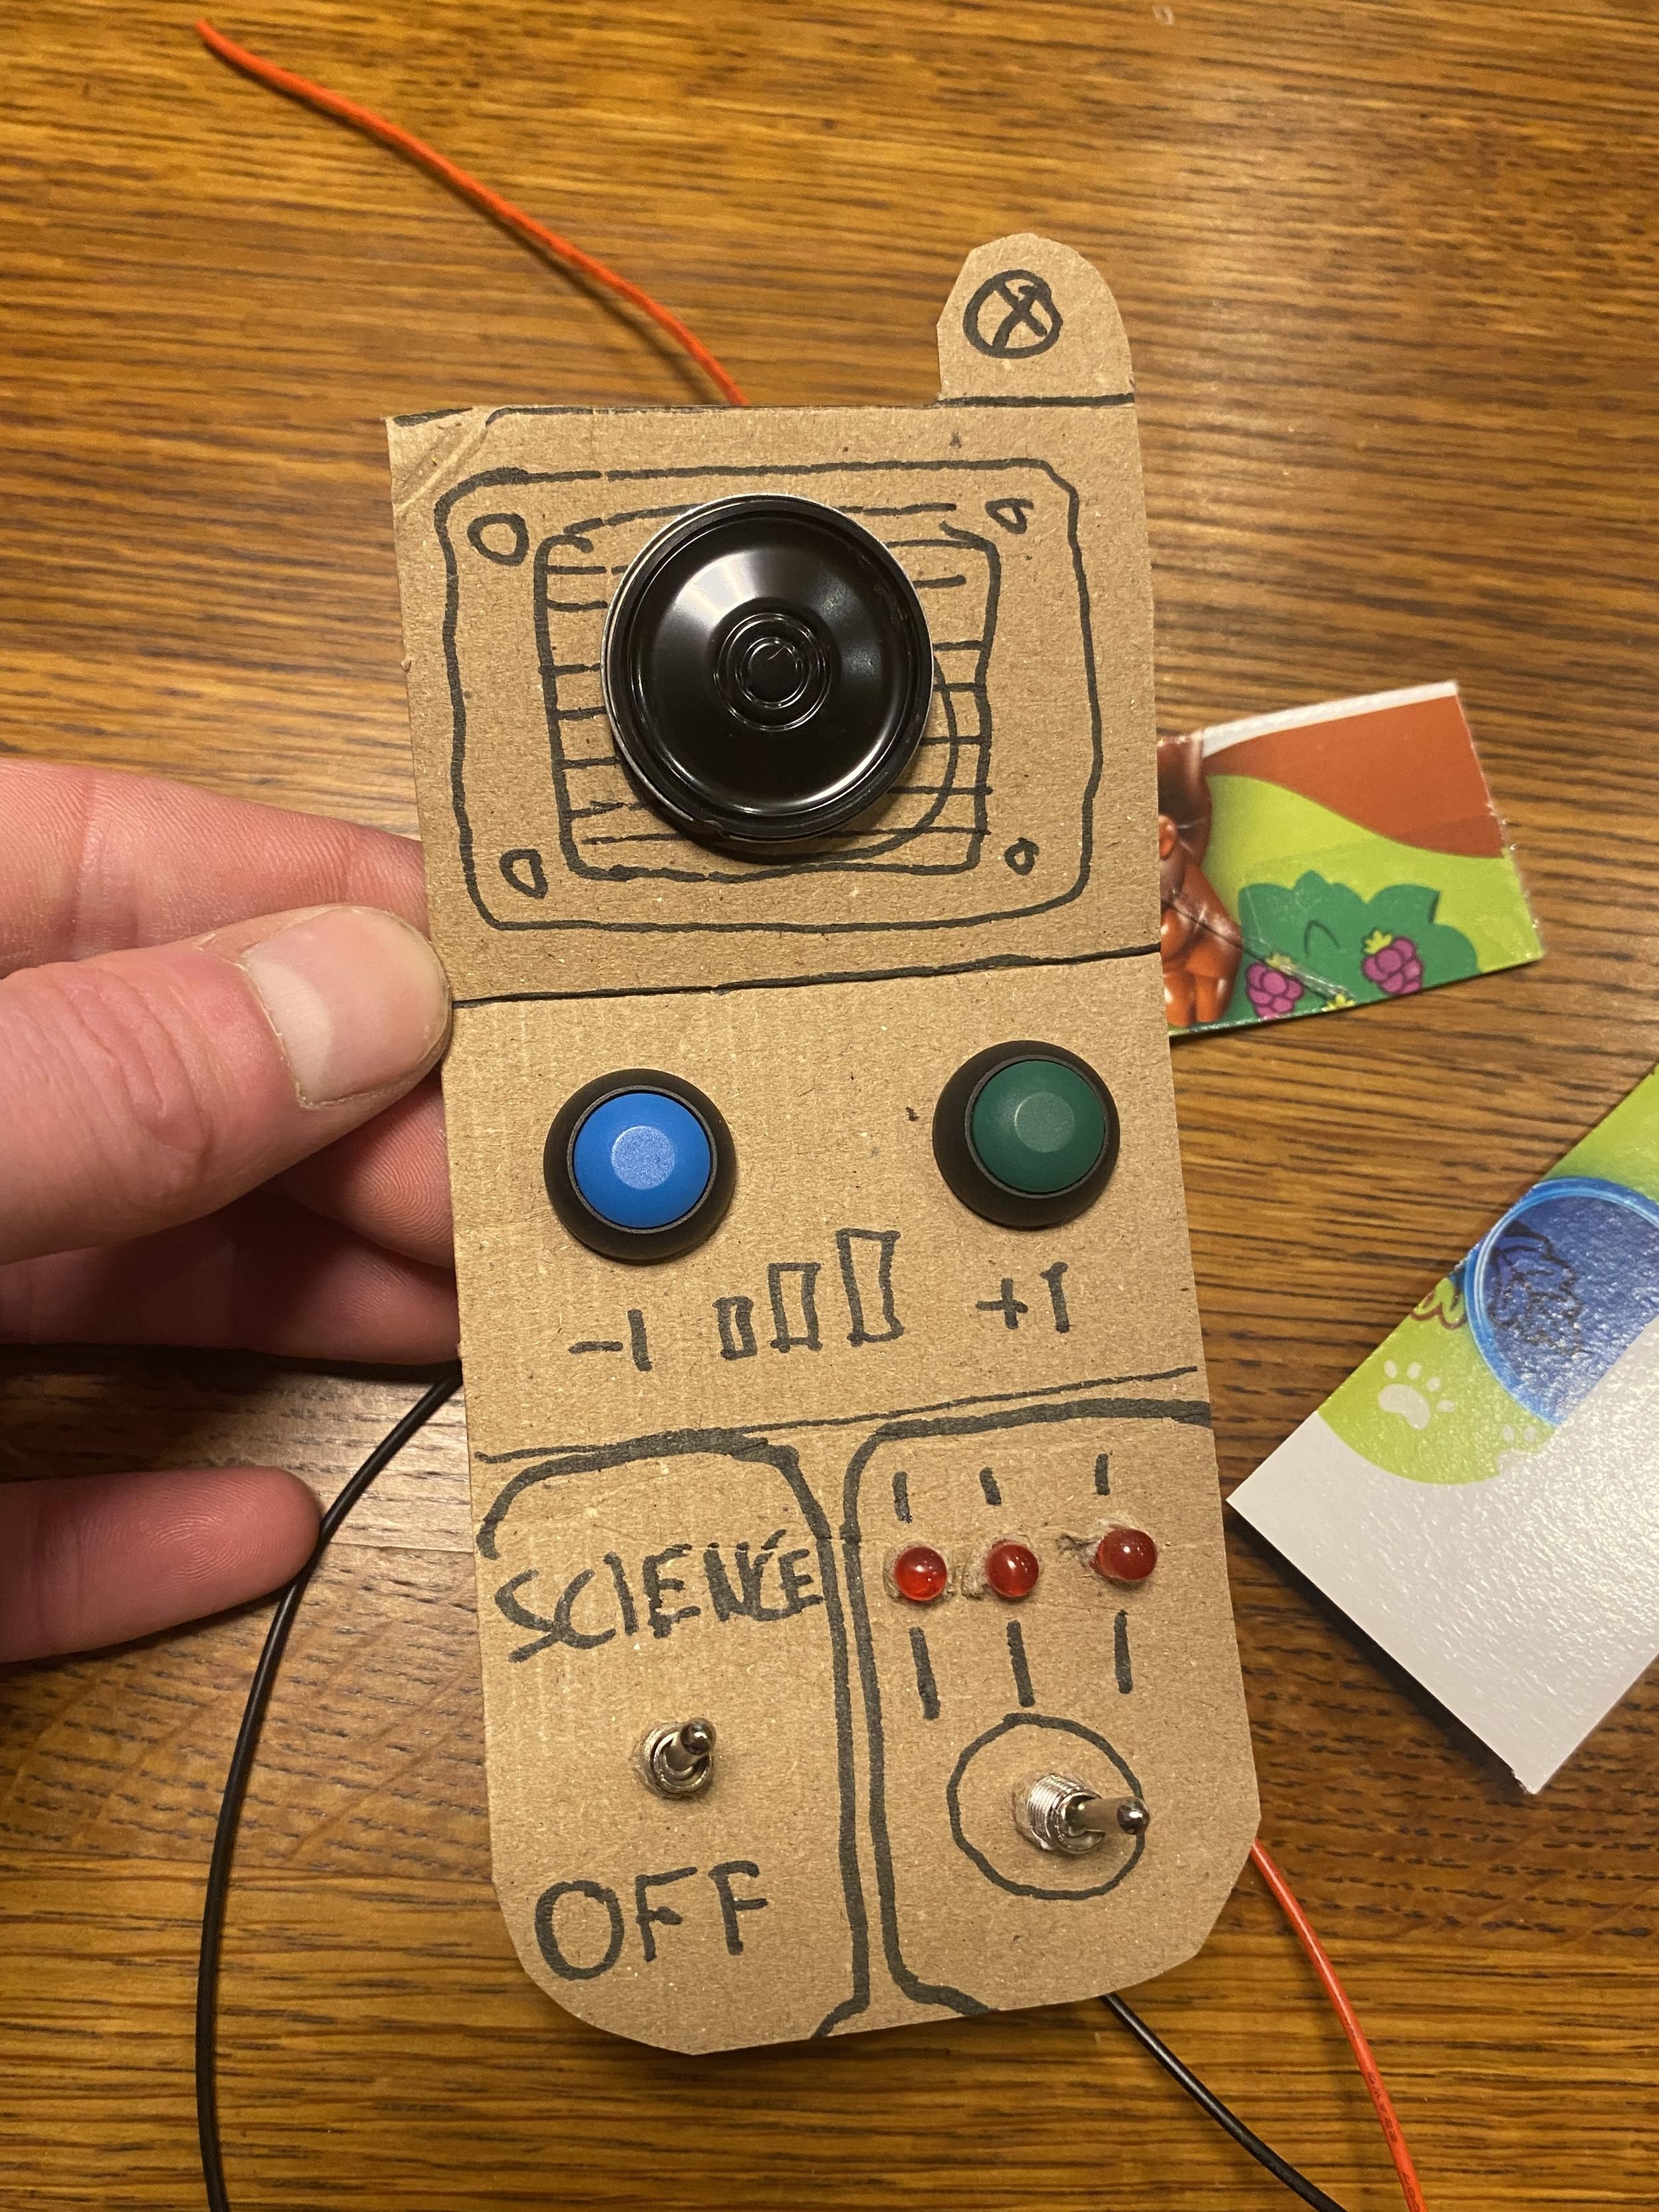
I bet this is exactly how the iPhone started.
-
@Pepijn
You might consider self tapering screws for plastic instead.@NUeB That usually works but for this I'm trying something a bit more durable and toddler-proof.
-
I forgot who I chatted with about this, but just to confirm: When I complete the toy I'll create a short page on my website with part list, .stl files (in various versions) and building instructions.
/5
Hurrah! Threaded inserts are nice!
Photo is a test I did with different hole sized and wall thickness.
/6
-
Hurrah! Threaded inserts are nice!
Photo is a test I did with different hole sized and wall thickness.
/6
Update: 3D model is done (screenshot is of an iteration just before the final one). Tonight I'll put together a little circuit board to slip into recesses printed inside the box.
I take great joy in how massively overengineered it all is. Tricks learned will be great for future projects.
Next is printing, sanding & painting, and assembly.
Then we'll have to figure out some daycare appropriate sounds (so: barely audible, gentle, not-fucking-annoying)
/7
-
Update: 3D model is done (screenshot is of an iteration just before the final one). Tonight I'll put together a little circuit board to slip into recesses printed inside the box.
I take great joy in how massively overengineered it all is. Tricks learned will be great for future projects.
Next is printing, sanding & painting, and assembly.
Then we'll have to figure out some daycare appropriate sounds (so: barely audible, gentle, not-fucking-annoying)
/7
Today the 3D designed parts were printed and passed the test fit.
I also collected all other components (yes that's lego, and yes I'll glue it) and knolled them together for a fun photo

/8
-
Today the 3D designed parts were printed and passed the test fit.
I also collected all other components (yes that's lego, and yes I'll glue it) and knolled them together for a fun photo
/8
Quick update: parts got two base layers and the first yellow coating. This is the look I was hoping for and I think I'll be happy with just one more thin layer.
/9
-
Quick update: parts got two base layers and the first yellow coating. This is the look I was hoping for and I think I'll be happy with just one more thin layer.
/9
Update: had a busy week with a last minute work trip abroad. Managed to do some painting (last yellow layer, black lettering, transparant coating) in-between though. Due to time-limitations I did simplify the design. Very happy how the SCIENCE 3000! pops out. Toddler will certainly appreciate that in the four seconds they'll use it.
I hope to connect the electronics tomorrow evening.
/10
-
Update: had a busy week with a last minute work trip abroad. Managed to do some painting (last yellow layer, black lettering, transparant coating) in-between though. Due to time-limitations I did simplify the design. Very happy how the SCIENCE 3000! pops out. Toddler will certainly appreciate that in the four seconds they'll use it.
I hope to connect the electronics tomorrow evening.
/10
The hobbit and I made a start with the recording of "science" sounds.
It's gonne be a tough one..
/11
-
The hobbit and I made a start with the recording of "science" sounds.
It's gonne be a tough one..
/11
Installed the LEDs, resistors and decorative lego. Background noise: The Hobbit is doing their part in the project by hitting both their drum and the 3D printer with a drumstick.
/12
-
Installed the LEDs, resistors and decorative lego. Background noise: The Hobbit is doing their part in the project by hitting both their drum and the 3D printer with a drumstick.
/12
@Pepijn so cool!!!
-
Installed the LEDs, resistors and decorative lego. Background noise: The Hobbit is doing their part in the project by hitting both their drum and the 3D printer with a drumstick.
/12
@Pepijn Ho! Op de printer was niet de bedoeling hoor ik

-
The hobbit and I made a start with the recording of "science" sounds.
It's gonne be a tough one..
/11
-
Installed the LEDs, resistors and decorative lego. Background noise: The Hobbit is doing their part in the project by hitting both their drum and the 3D printer with a drumstick.
/12
Electronics are functional! There's some tidying up tomorrow as I swapped the volume up and down wires.. little video showing the result:
/13
-
Electronics are functional! There's some tidying up tomorrow as I swapped the volume up and down wires.. little video showing the result:
/13
@Pepijn all of this is awesome!
-
Electronics are functional! There's some tidying up tomorrow as I swapped the volume up and down wires.. little video showing the result:
/13
@Pepijn yellow machine packs a punch, already leaving its adversaries helpless
-
 F folfdk@helvede.net shared this topic