Skip to content
  • Hjem
  • Seneste
  • Etiketter
  • Populære
  • Verden
  • Bruger
  • Grupper
Temaer
  • Light
  • Brite
  • Cerulean
  • Cosmo
  • Flatly
  • Journal
  • Litera
  • Lumen
  • Lux
  • Materia
  • Minty
  • Morph
  • Pulse
  • Sandstone
  • Simplex
  • Sketchy
  • Spacelab
  • United
  • Yeti
  • Zephyr
  • Dark
  • Cyborg
  • Darkly
  • Quartz
  • Slate
  • Solar
  • Superhero
  • Vapor

  • Default (No Skin)
  • No Skin
Kollaps
FARVEL BIG TECH
  1. Forside
  2. Ikke-kategoriseret
  3. I bet this is exactly how the iPhone started.
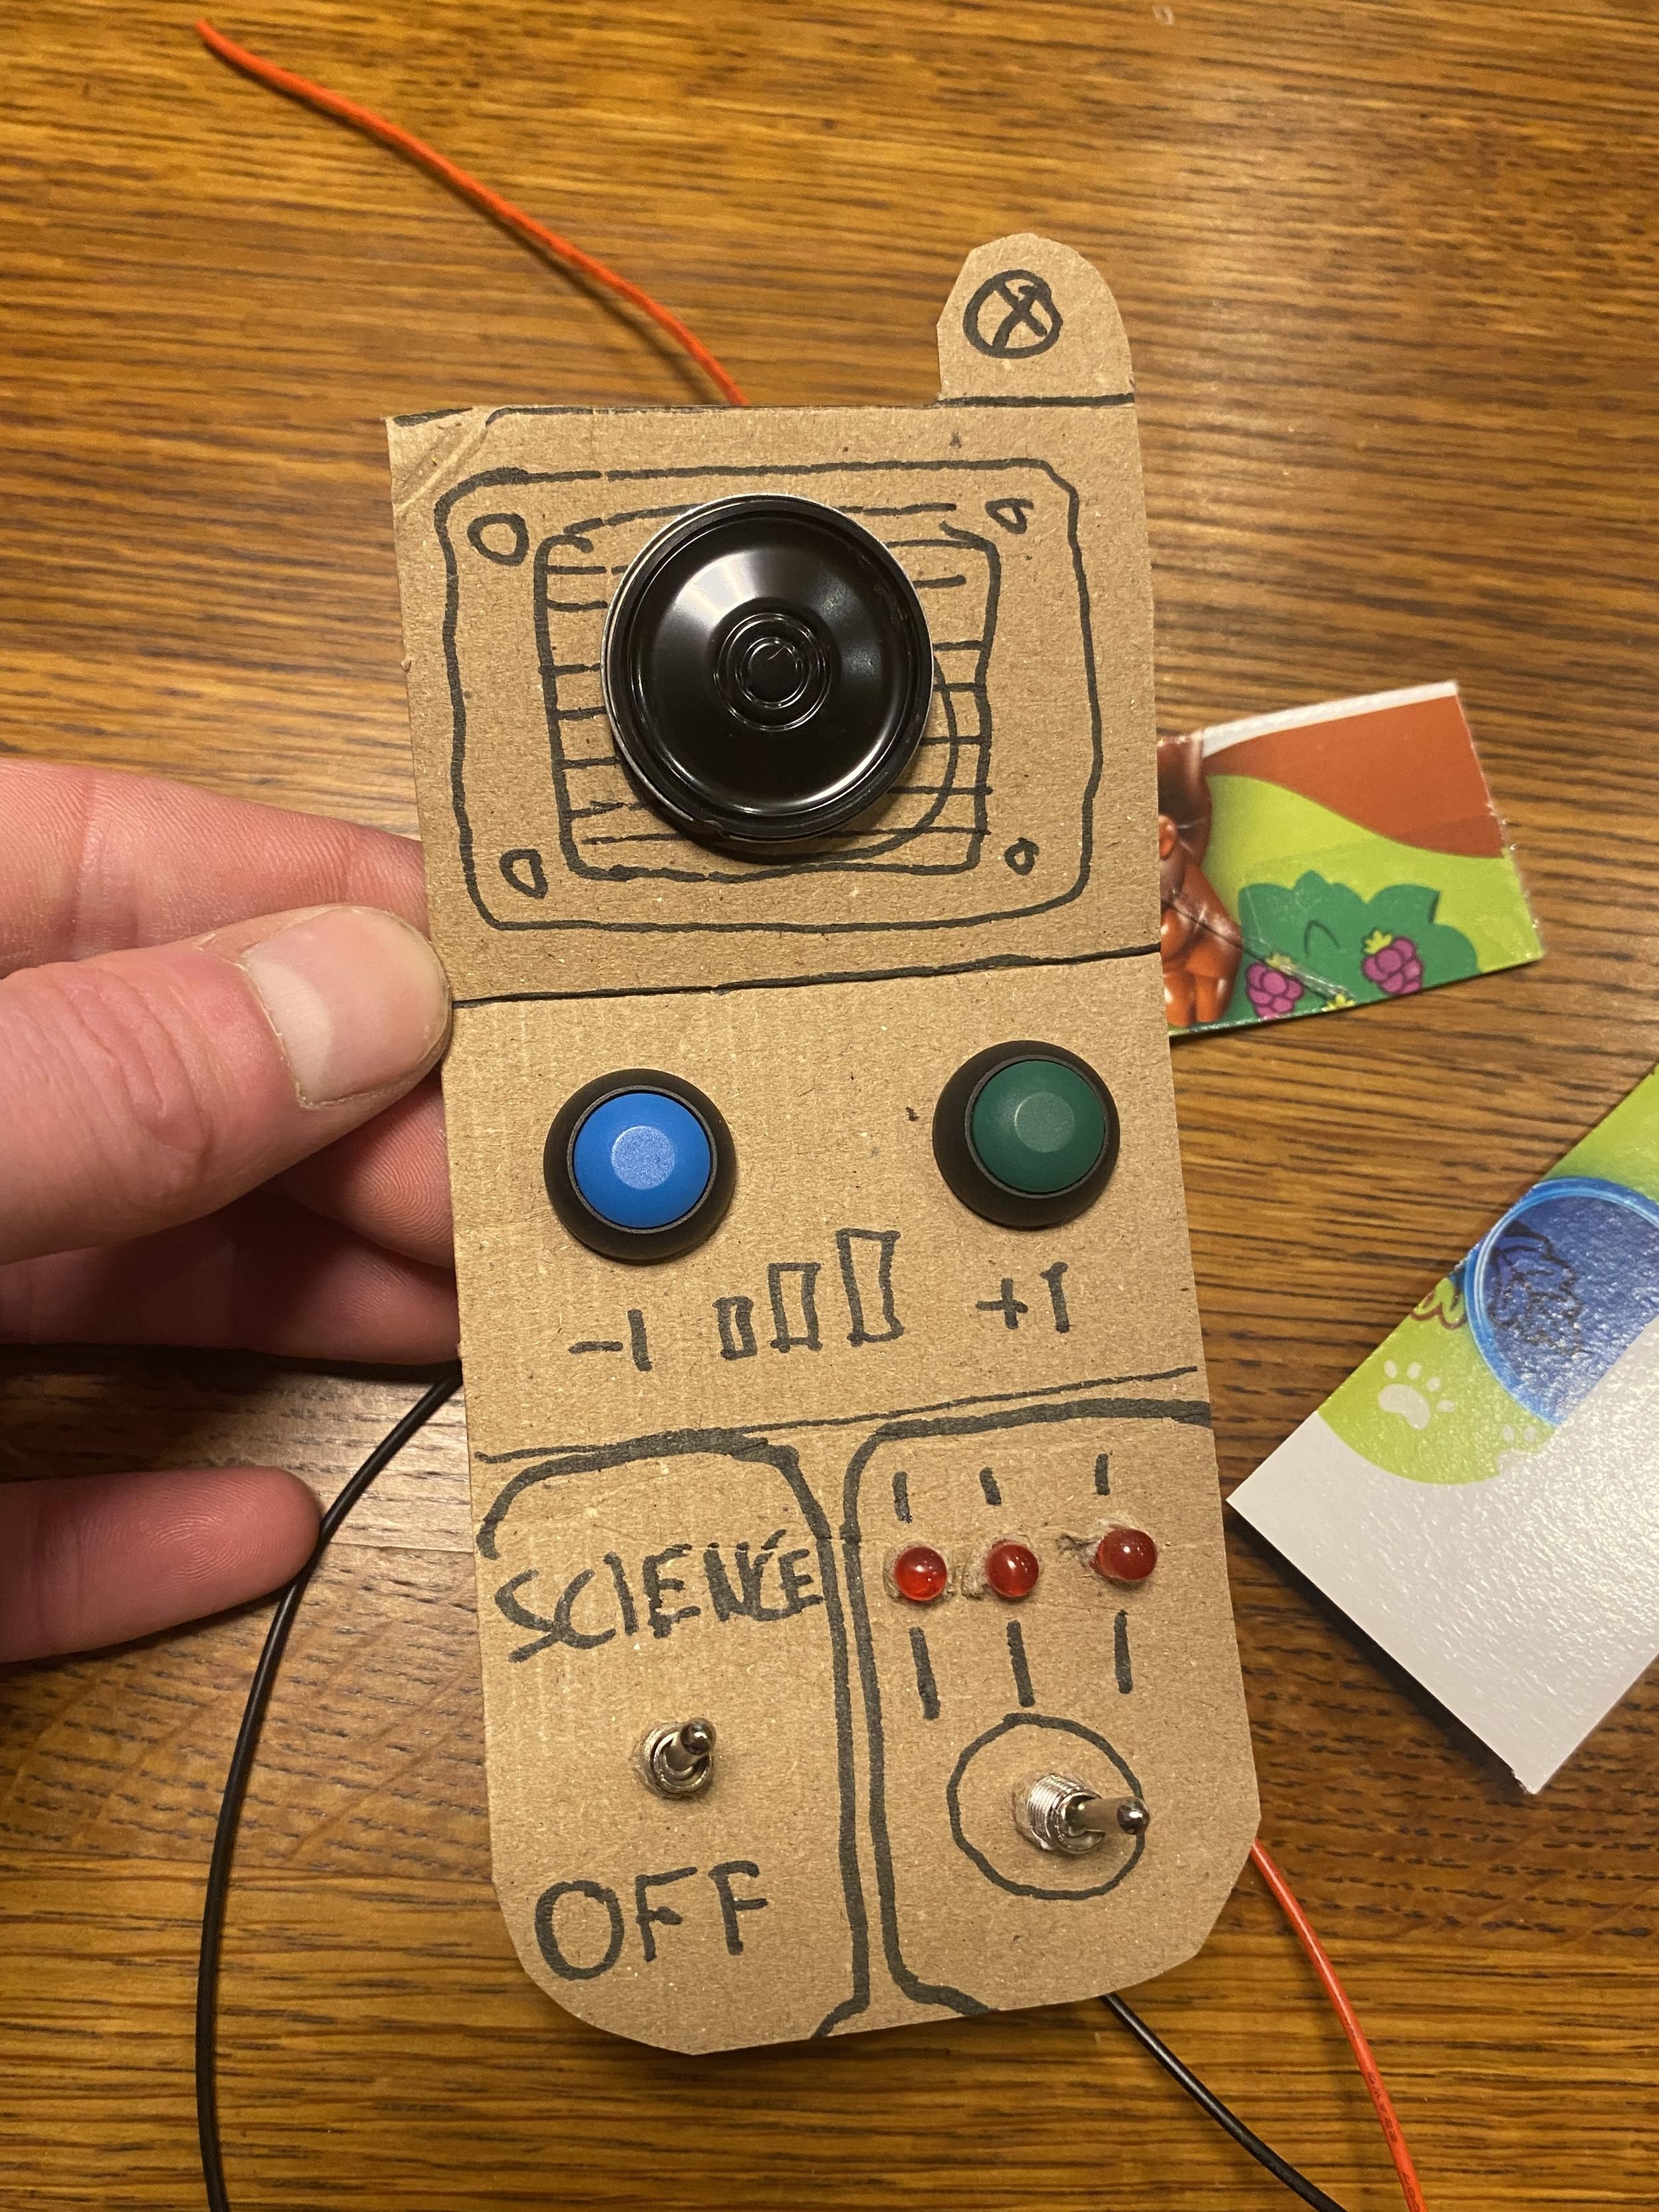
I bet this is exactly how the iPhone started.

Planlagt Fastgjort Låst Flyttet Ikke-kategoriseret
toddlerscience3
32 Indlæg 14 Posters 0 Visninger
  • Ældste til nyeste
  • Nyeste til ældste
  • Most Votes
Svar
  • Svar som emne
Login for at svare
Denne tråd er blevet slettet. Kun brugere med emne behandlings privilegier kan se den.
  • pepijn@mastodon.onlineP pepijn@mastodon.online

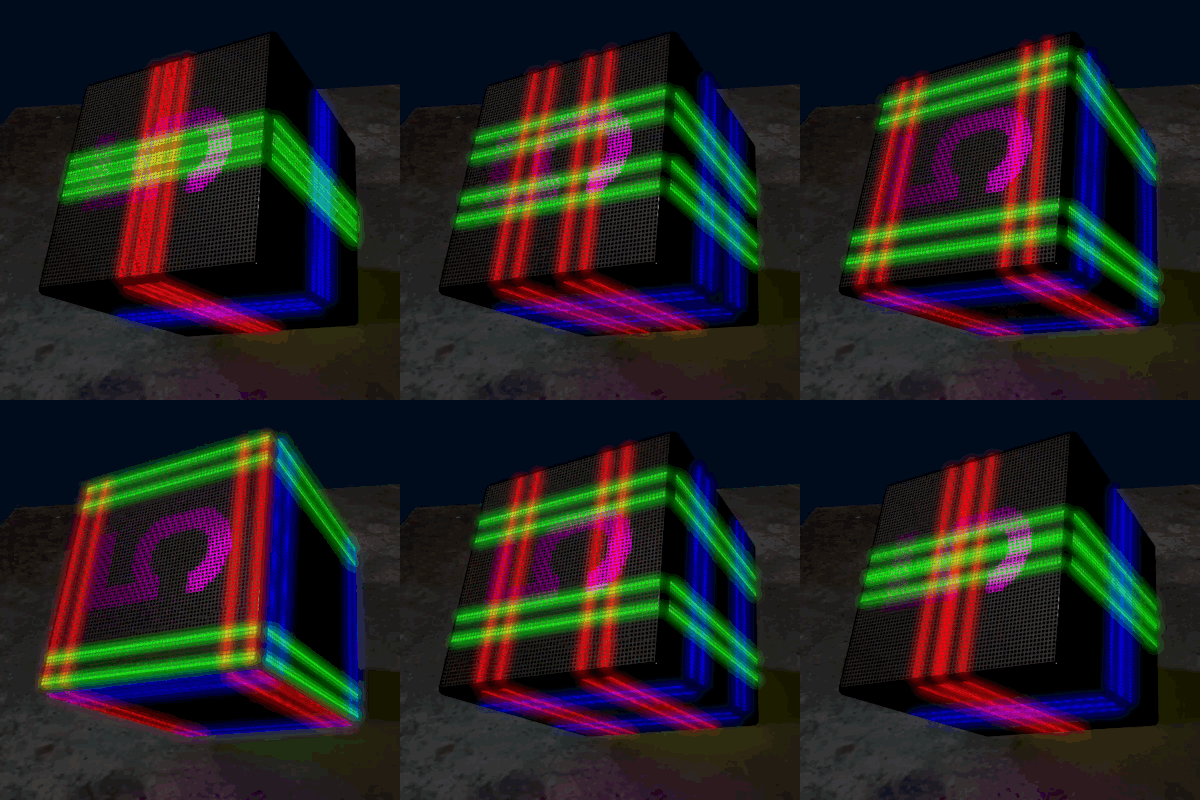
    Second iteration. Now with 3d printed faceplate. I think we'll put the speaker at the back and make the entire thing a bit more chunky / toddler proof.

    /2

    #ToddlerScience3000

    thias@mastodon.socialT This user is from outside of this forum
    thias@mastodon.socialT This user is from outside of this forum
    thias@mastodon.social
    wrote sidst redigeret af
    #3

    @Pepijn if I may, if the goal is really to be toddler proof, I would recommend rocker switches. If you bang you hand on those (or walks ob then) it hurts.

    1 Reply Last reply
    0
    • thias@mastodon.socialT This user is from outside of this forum
      thias@mastodon.socialT This user is from outside of this forum
      thias@mastodon.social
      wrote sidst redigeret af
      #4

      @Pepijn good idea.

      1 Reply Last reply
      0
      • pepijn@mastodon.onlineP pepijn@mastodon.online

        Second iteration. Now with 3d printed faceplate. I think we'll put the speaker at the back and make the entire thing a bit more chunky / toddler proof.

        /2

        #ToddlerScience3000

        pepijn@mastodon.onlineP This user is from outside of this forum
        pepijn@mastodon.onlineP This user is from outside of this forum
        pepijn@mastodon.online
        wrote sidst redigeret af
        #5

        I'll use this as a thread to document the building of this toy.

        Idea: https://mastodon.online/@Pepijn/117257481074439294

        Electronics: https://mastodon.online/@Pepijn/117293604254967877

        Current phase is creating (in #FreeCAD) the physical box, some internal support structures for the electronics, and the faceplate. As it has to be herd-of-small-children-proof and maintainable (replace batteries, change sounds for further use) it's a fun learning project to figure out the design requirements for that.

        /3

        #ToddlerScience3000 #parenting

        pepijn@mastodon.onlineP 1 Reply Last reply
        0
        • miq@hessen.socialM This user is from outside of this forum
          miq@hessen.socialM This user is from outside of this forum
          miq@hessen.social
          wrote sidst redigeret af
          #6

          @Pepijn How about a round rim gripping around the outermost ring of the speaker, that is slightly more than 180 degrees, allowing the speaker to be clicked in?

          1 Reply Last reply
          0
          • N This user is from outside of this forum
            N This user is from outside of this forum
            nanianmichaels@tech.lgbt
            wrote sidst redigeret af
            #7

            @Pepijn
            If you're already expecting a recess to drop it in from the front, I'd suggest a lip all around the back, but only for the outermost ring of the speaker, that way you'd still have most of the back exposed.

            Or at least a few tabs where the speaker can sit.

            Though a lip around the whole speaker would allow for either a gasket or pad to more easily be placed between the speaker and its support, which would reduce rattling being conducted to the case.

            PS: Never done this, just basing on what I've seen.

            1 Reply Last reply
            0
            • siff@mstdn.socialS This user is from outside of this forum
              siff@mstdn.socialS This user is from outside of this forum
              siff@mstdn.social
              wrote sidst redigeret af
              #8

              @Pepijn Can you have the recess on the outside and a ring on the grille? This way the grille can secure the speaker in place when it is installed.

              1 Reply Last reply
              0
              • kbob@chaos.socialK This user is from outside of this forum
                kbob@chaos.socialK This user is from outside of this forum
                kbob@chaos.social
                wrote sidst redigeret af
                #9

                @Pepijn Here's how I solved that problem.

                https://chaos.social/@kbob/112833681808918347

                1 Reply Last reply
                0
                • pepijn@mastodon.onlineP pepijn@mastodon.online

                  I'll use this as a thread to document the building of this toy.

                  Idea: https://mastodon.online/@Pepijn/117257481074439294

                  Electronics: https://mastodon.online/@Pepijn/117293604254967877

                  Current phase is creating (in #FreeCAD) the physical box, some internal support structures for the electronics, and the faceplate. As it has to be herd-of-small-children-proof and maintainable (replace batteries, change sounds for further use) it's a fun learning project to figure out the design requirements for that.

                  /3

                  #ToddlerScience3000 #parenting

                  pepijn@mastodon.onlineP This user is from outside of this forum
                  pepijn@mastodon.onlineP This user is from outside of this forum
                  pepijn@mastodon.online
                  wrote sidst redigeret af
                  #10

                  Update: #freecad 3D model is basically done. After figuring out threaded inserts I'll print it.

                  I added a little slot for the speaker. The backplate is locked in place by the faceplate.

                  --
                  Someone asked if this is all worth it for a halloween costume.

                  Well. I'm fairly certain toddler would also be really happy with a cardboard box and no sound.

                  Toddler also enjoys participating in this though. And I'm learning new #hobby skills.

                  So yes. It is, as we're having fun.

                  #ToddlerScience3000

                  /4

                  pepijn@mastodon.onlineP nueb@mstdn.socialN 2 Replies Last reply
                  0
                  • pepijn@mastodon.onlineP pepijn@mastodon.online

                    Update: #freecad 3D model is basically done. After figuring out threaded inserts I'll print it.

                    I added a little slot for the speaker. The backplate is locked in place by the faceplate.

                    --
                    Someone asked if this is all worth it for a halloween costume.

                    Well. I'm fairly certain toddler would also be really happy with a cardboard box and no sound.

                    Toddler also enjoys participating in this though. And I'm learning new #hobby skills.

                    So yes. It is, as we're having fun.

                    #ToddlerScience3000

                    /4

                    pepijn@mastodon.onlineP This user is from outside of this forum
                    pepijn@mastodon.onlineP This user is from outside of this forum
                    pepijn@mastodon.online
                    wrote sidst redigeret af
                    #11

                    I forgot who I chatted with about this, but just to confirm: When I complete the toy I'll create a short page on my website with part list, .stl files (in various versions) and building instructions.

                    /5

                    #ToddlerScience3000

                    legopink@mstdn.socialL pepijn@mastodon.onlineP 2 Replies Last reply
                    0
                    • pepijn@mastodon.onlineP pepijn@mastodon.online

                      I bet this is exactly how the iPhone started.

                      edit. Correction: replace iPhone with Large Hadron Collider.

                      #ToddlerScience3000

                      venite@mastodon.nlV This user is from outside of this forum
                      venite@mastodon.nlV This user is from outside of this forum
                      venite@mastodon.nl
                      wrote sidst redigeret af
                      #12

                      @Pepijn your autocorrect has been hacked by a Scottish particle physicist

                      pepijn@mastodon.onlineP 1 Reply Last reply
                      0
                      • venite@mastodon.nlV venite@mastodon.nl

                        @Pepijn your autocorrect has been hacked by a Scottish particle physicist

                        pepijn@mastodon.onlineP This user is from outside of this forum
                        pepijn@mastodon.onlineP This user is from outside of this forum
                        pepijn@mastodon.online
                        wrote sidst redigeret af
                        #13

                        @venite But he was super good at walls.

                        1 Reply Last reply
                        0
                        • pepijn@mastodon.onlineP pepijn@mastodon.online

                          I forgot who I chatted with about this, but just to confirm: When I complete the toy I'll create a short page on my website with part list, .stl files (in various versions) and building instructions.

                          /5

                          #ToddlerScience3000

                          legopink@mstdn.socialL This user is from outside of this forum
                          legopink@mstdn.socialL This user is from outside of this forum
                          legopink@mstdn.social
                          wrote sidst redigeret af
                          #14

                          @Pepijn may I suggest you share .step files or even .3mf files instead?
                          And the freeCAD files as an extra

                          Makes it so much easier to adept your design, if needed

                          pepijn@mastodon.onlineP 1 Reply Last reply
                          0
                          • legopink@mstdn.socialL legopink@mstdn.social

                            @Pepijn may I suggest you share .step files or even .3mf files instead?
                            And the freeCAD files as an extra

                            Makes it so much easier to adept your design, if needed

                            pepijn@mastodon.onlineP This user is from outside of this forum
                            pepijn@mastodon.onlineP This user is from outside of this forum
                            pepijn@mastodon.online
                            wrote sidst redigeret af
                            #15

                            @LegoPink Good idea.

                            Are .step and .3mf files exported from FreeCAD easy to work with? I've never tried that.

                            My original FreeCAD files are extremely messy as I used a base file that includes a lot of comments (to myself) so without a rebuild I don't feel comfy with that 🙂

                            legopink@mstdn.socialL 1 Reply Last reply
                            0
                            • pepijn@mastodon.onlineP pepijn@mastodon.online

                              @LegoPink Good idea.

                              Are .step and .3mf files exported from FreeCAD easy to work with? I've never tried that.

                              My original FreeCAD files are extremely messy as I used a base file that includes a lot of comments (to myself) so without a rebuild I don't feel comfy with that 🙂

                              legopink@mstdn.socialL This user is from outside of this forum
                              legopink@mstdn.socialL This user is from outside of this forum
                              legopink@mstdn.social
                              wrote sidst redigeret af
                              #16

                              @Pepijn
                              Good question, actually...
                              If imported .stl files in FreeCAD and was very annoyed with it. Never tried importing someone else's .step ffiles

                              I always export to .step or .3mf, (never .stl)
                              And import with OrcaSlicer for 3D printing, works for me

                              Totally agree on not being comfortable to share some of my FreeCAD mess...
                              Still learning modeling

                              pepijn@mastodon.onlineP 1 Reply Last reply
                              0
                              • legopink@mstdn.socialL legopink@mstdn.social

                                @Pepijn
                                Good question, actually...
                                If imported .stl files in FreeCAD and was very annoyed with it. Never tried importing someone else's .step ffiles

                                I always export to .step or .3mf, (never .stl)
                                And import with OrcaSlicer for 3D printing, works for me

                                Totally agree on not being comfortable to share some of my FreeCAD mess...
                                Still learning modeling

                                pepijn@mastodon.onlineP This user is from outside of this forum
                                pepijn@mastodon.onlineP This user is from outside of this forum
                                pepijn@mastodon.online
                                wrote sidst redigeret af
                                #17

                                @LegoPink I'll experiment with it as I do like the suggestion 🙂

                                1 Reply Last reply
                                0
                                • pepijn@mastodon.onlineP pepijn@mastodon.online

                                  Update: #freecad 3D model is basically done. After figuring out threaded inserts I'll print it.

                                  I added a little slot for the speaker. The backplate is locked in place by the faceplate.

                                  --
                                  Someone asked if this is all worth it for a halloween costume.

                                  Well. I'm fairly certain toddler would also be really happy with a cardboard box and no sound.

                                  Toddler also enjoys participating in this though. And I'm learning new #hobby skills.

                                  So yes. It is, as we're having fun.

                                  #ToddlerScience3000

                                  /4

                                  nueb@mstdn.socialN This user is from outside of this forum
                                  nueb@mstdn.socialN This user is from outside of this forum
                                  nueb@mstdn.social
                                  wrote sidst redigeret af
                                  #18

                                  @Pepijn
                                  You might consider self tapering screws for plastic instead.

                                  pepijn@mastodon.onlineP 1 Reply Last reply
                                  0
                                  • nueb@mstdn.socialN nueb@mstdn.social

                                    @Pepijn
                                    You might consider self tapering screws for plastic instead.

                                    pepijn@mastodon.onlineP This user is from outside of this forum
                                    pepijn@mastodon.onlineP This user is from outside of this forum
                                    pepijn@mastodon.online
                                    wrote sidst redigeret af
                                    #19

                                    @NUeB That usually works but for this I'm trying something a bit more durable and toddler-proof.

                                    1 Reply Last reply
                                    0
                                    • pepijn@mastodon.onlineP pepijn@mastodon.online

                                      I forgot who I chatted with about this, but just to confirm: When I complete the toy I'll create a short page on my website with part list, .stl files (in various versions) and building instructions.

                                      /5

                                      #ToddlerScience3000

                                      pepijn@mastodon.onlineP This user is from outside of this forum
                                      pepijn@mastodon.onlineP This user is from outside of this forum
                                      pepijn@mastodon.online
                                      wrote sidst redigeret af
                                      #20

                                      Hurrah! Threaded inserts are nice!

                                      Photo is a test I did with different hole sized and wall thickness.

                                      /6

                                      #ToddlerScience3000

                                      pepijn@mastodon.onlineP 1 Reply Last reply
                                      0
                                      • pepijn@mastodon.onlineP pepijn@mastodon.online

                                        Hurrah! Threaded inserts are nice!

                                        Photo is a test I did with different hole sized and wall thickness.

                                        /6

                                        #ToddlerScience3000

                                        pepijn@mastodon.onlineP This user is from outside of this forum
                                        pepijn@mastodon.onlineP This user is from outside of this forum
                                        pepijn@mastodon.online
                                        wrote sidst redigeret af
                                        #21

                                        Update: 3D model is done (screenshot is of an iteration just before the final one). Tonight I'll put together a little circuit board to slip into recesses printed inside the box.

                                        I take great joy in how massively overengineered it all is. Tricks learned will be great for future projects.

                                        Next is printing, sanding & painting, and assembly.

                                        Then we'll have to figure out some daycare appropriate sounds (so: barely audible, gentle, not-fucking-annoying)

                                        /7

                                        #FreeCADfriday #ToddlerScience3000

                                        pepijn@mastodon.onlineP 1 Reply Last reply
                                        0
                                        • pepijn@mastodon.onlineP pepijn@mastodon.online

                                          Update: 3D model is done (screenshot is of an iteration just before the final one). Tonight I'll put together a little circuit board to slip into recesses printed inside the box.

                                          I take great joy in how massively overengineered it all is. Tricks learned will be great for future projects.

                                          Next is printing, sanding & painting, and assembly.

                                          Then we'll have to figure out some daycare appropriate sounds (so: barely audible, gentle, not-fucking-annoying)

                                          /7

                                          #FreeCADfriday #ToddlerScience3000

                                          pepijn@mastodon.onlineP This user is from outside of this forum
                                          pepijn@mastodon.onlineP This user is from outside of this forum
                                          pepijn@mastodon.online
                                          wrote sidst redigeret af
                                          #22

                                          Today the 3D designed parts were printed and passed the test fit.

                                          I also collected all other components (yes that's lego, and yes I'll glue it) and knolled them together for a fun photo 🙂

                                          /8

                                          #ToddlerScience3000 #lego

                                          pepijn@mastodon.onlineP 1 Reply Last reply
                                          0
                                          Svar
                                          • Svar som emne
                                          Login for at svare
                                          • Ældste til nyeste
                                          • Nyeste til ældste
                                          • Most Votes


                                          • Log ind

                                          • Login or register to search.
                                          Powered by NodeBB Contributors
                                          Graciously hosted by data.coop
                                          • First post
                                            Last post
                                          0
                                          • Hjem
                                          • Seneste
                                          • Etiketter
                                          • Populære
                                          • Verden
                                          • Bruger
                                          • Grupper